Mastering Reflective Heat Transfer Vinyl: Cutting, Weeding, and Application Tips
"Reflective heat transfer vinyl (HTV) adds functionality and style to fabric projects, enhancing visibility and appeal for clothing, accessories, and promotional items. Its reflective quality makes it ideal for safety gear and sportswear, but achieving great results requires a careful approach. This guide covers essential steps—from preparing your design and achieving clean cuts to effective weeding and heat application—to help you apply reflective HTV precisely. Follow these steps to ensure your designs stand out, remain durable, and perform effectively under low-light conditions."
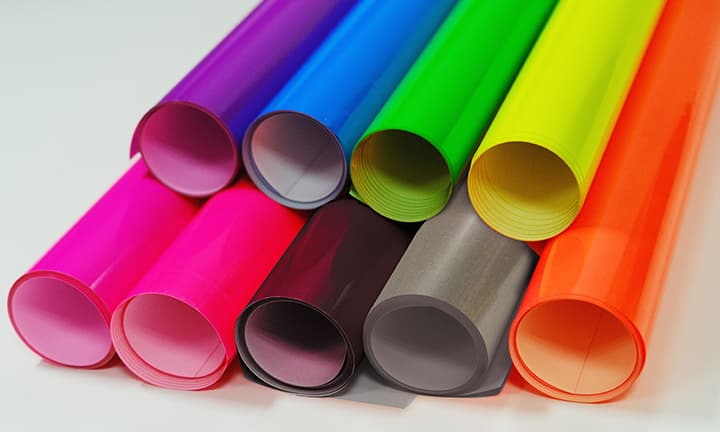
How to Cut Reflective Heat Transfer Vinyl
To get the best results when working with reflective HTV, it's essential to follow specific steps before cutting your design.
-
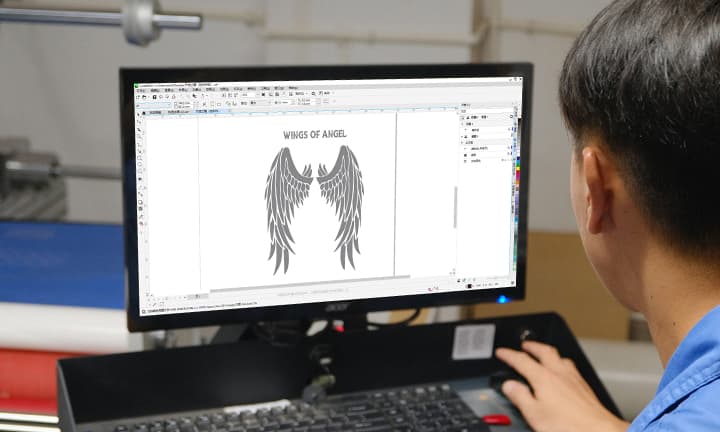
1: Mirror Your Design
Before sending the design to your cutter, mirror (flip horizontally) the image. This is crucial for heat transfer vinyl, especially for text or non-symmetrical designs, as the image will be pressed from the reverse side. Forgetting to mirror will result in a backward design when applied.
-
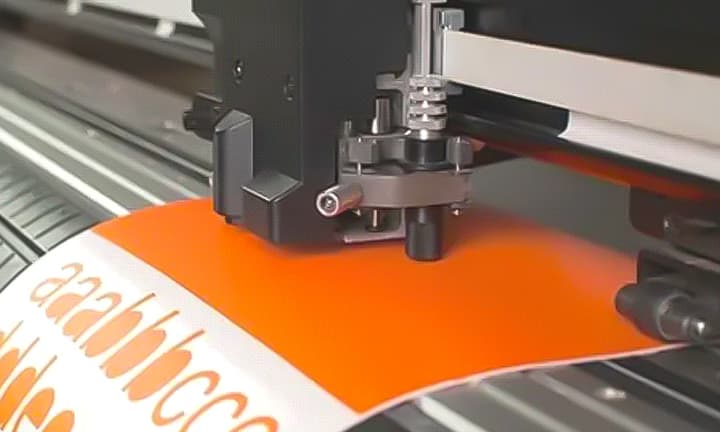
2: Cut on the Correct Side
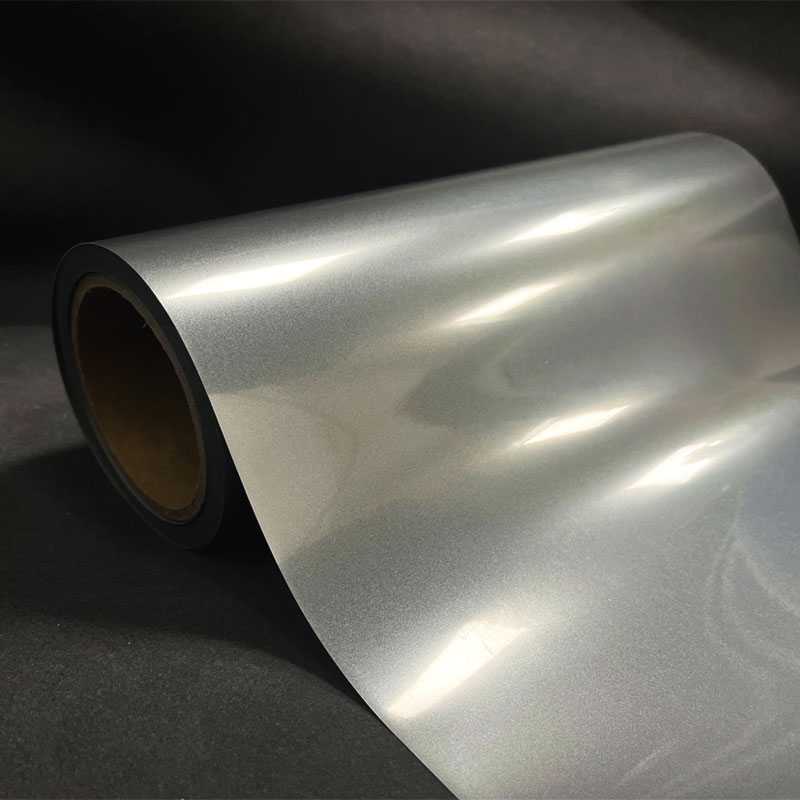
When cutting reflective heat transfer vinyl, place it with the glossy side facing down and the duller side facing up. This ensures the vinyl is cut correctly and the design will transfer smoothly onto the fabric.
-
3: Use a Fresh Blade
Reflective vinyl contains microscopic glass beads that create its reflective quality, which can dull blades over time. For clean cuts, use a sharp, preferably new blade. Both 45° and 60° blades work, but a new 60° blade is best for thicker or intricate designs.
-
4: Test Cut for Best Results
Before proceeding with a full cut, always perform a test cut. Vinyl can vary in thickness, and testing ensures your blade depth and pressure settings are correct. Use your cutter’s test cut function to avoid wasting material, and fine-tune the settings based on the results. A clean cut will make weeding much easier.
How to Weed Reflective HTV
Once your design is cut, it’s time to weed out the excess material, revealing the final look. Using tools like a weeder or tweezers, carefully peel away the vinyl, saving any reusable scraps for future projects.
-
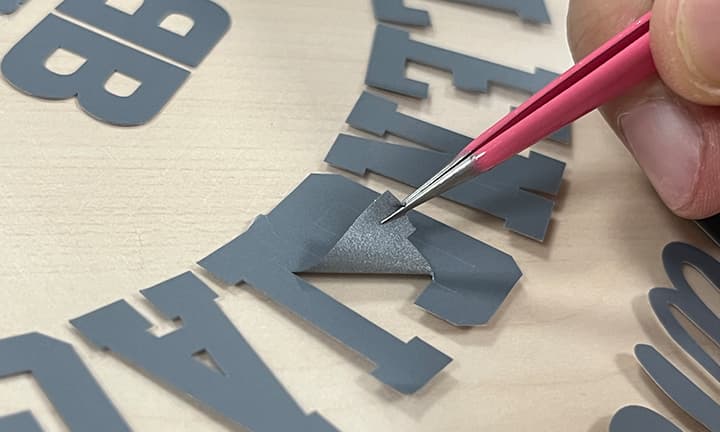
1. Remove the Excess Vinyl
To weed reflective heat transfer vinyl, begin by using your fingers to peel away the larger sections of excess vinyl from a corner. Once the bulk is removed, switch to a weeding tool, like tweezers, to carefully extract the smaller pieces, paying close attention to intricate details like the centers of letters.
- If you accidentally remove part of your design, don't worry—Chinastars' carrier is sticky, allowing you to reposition misplaced pieces easily.
-
2. Inspect Your Work
Handle the material gently to avoid tearing, and inspect your work to ensure all unwanted vinyl has been removed for a clean finish.
- Ensure your workspace is well-lit to easily identify small vinyl pieces against the reflective surface.
How to Apply Reflective Heat Transfer Vinyl
Reflective HTV is a material that adds visibility and style to clothing, making it popular for safety gear, sportswear, and custom designs. Here’s a quick guide on how to apply it effectively.
-
1. Preheat the Fabric
To apply reflective heat transfer vinyl, first, preheat your fabric by pressing it for 2-3 seconds to remove moisture and wrinkles.
-
2. Position the vinyl
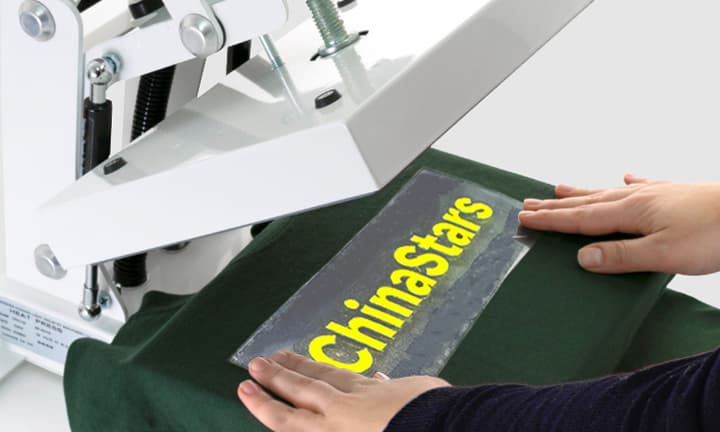
Place the vinyl design on the fabric (with the clear carrier sheet facing up), ensuring it's properly aligned.
-
3. Apply Heat
Set your heat press or iron to the recommended temperature (usually around 150-160°C or 305-320°F, depending on the vinyl type). Press the vinyl onto the fabric using medium pressure for 8-12 seconds. Time and temperature may vary based on the specific type of HTV—always refer to the product’s instructions.
-
4. Peel the Carrier Sheet
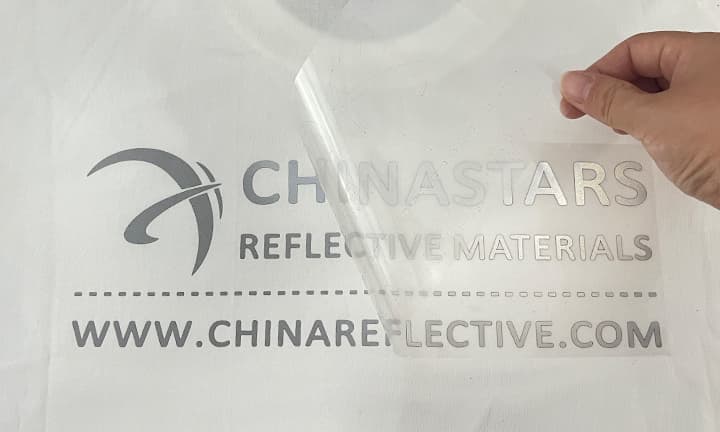
Allow the vinyl to cool, then peel off the carrier sheet. If needed, press again for a few seconds to ensure a strong bond.
Tips for Success
-
1. Test on Fabric
Before applying HTV to your final project, do a small test on a scrap piece of fabric to check the adhesion and reflective quality of the vinyl.
-
2. Follow Wash Instructions
Wait 24 hours before washing and follow the manufacturer’s guidelines to maintain reflectivity and adhesion.
-
3. Choose the Right Vinyl
Make sure to select a reflective HTV that is compatible with your fabric type. Some reflective HTVs are specifically designed for cotton, polyester, or performance fabrics. Contact our sales team for detailed instructions on vinyl compatibility.
Where to Use Reflective Heat Transfer Vinyl
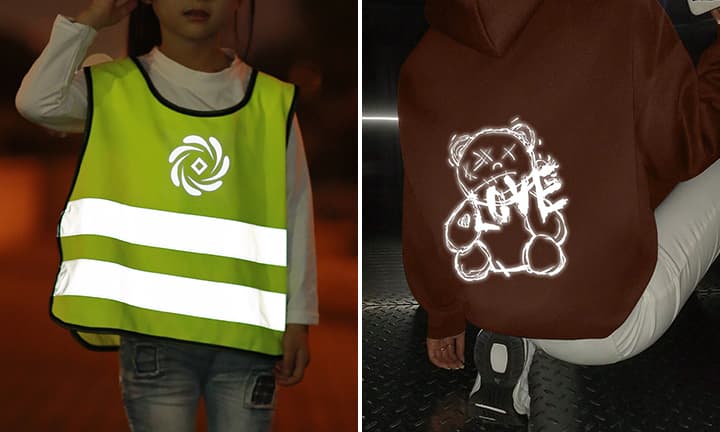
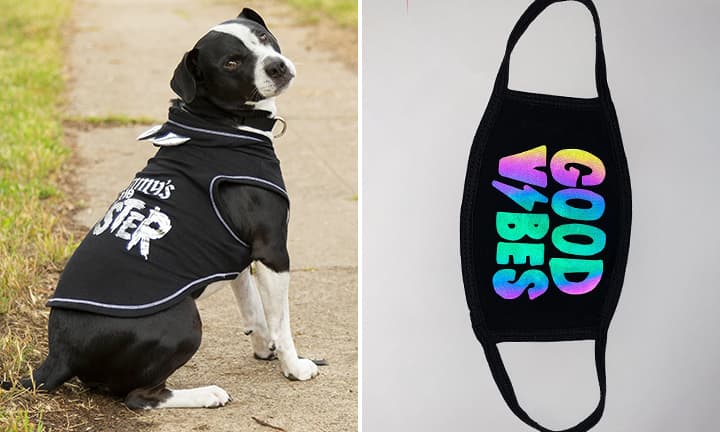
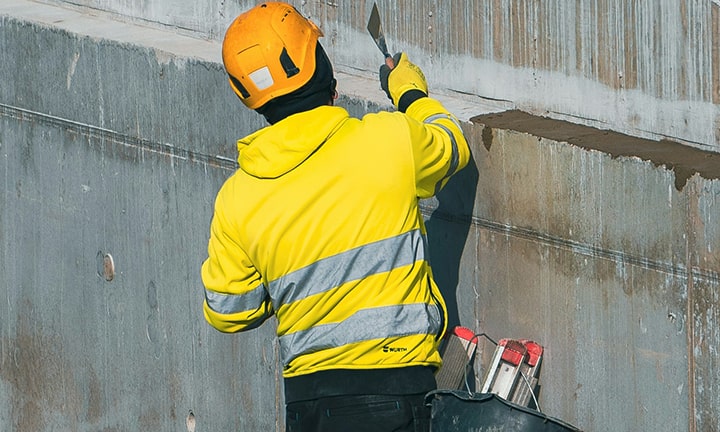
Reflective HTVs are widely used across various industries due to their versatility, ease of application, and high reflectivity. Common applications include:
-
- Safety apparel
-
- Sportswear & Activewear
-
- Accessories
-
- Pet products
