01. What is reflective heat transfer vinyl?
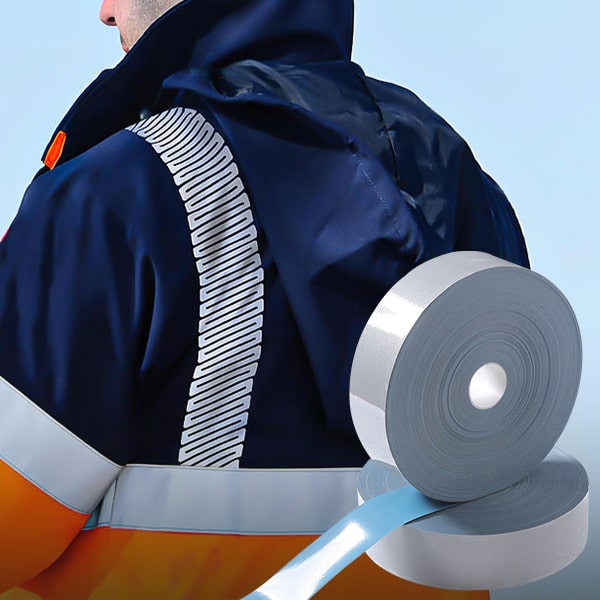
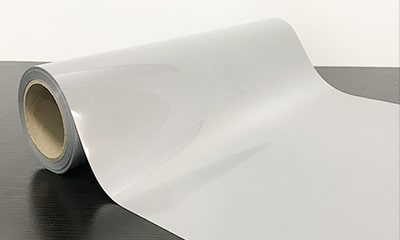
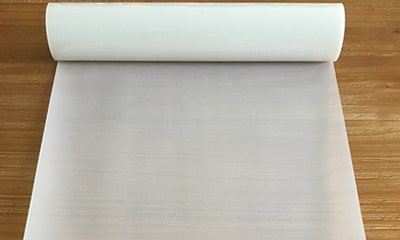
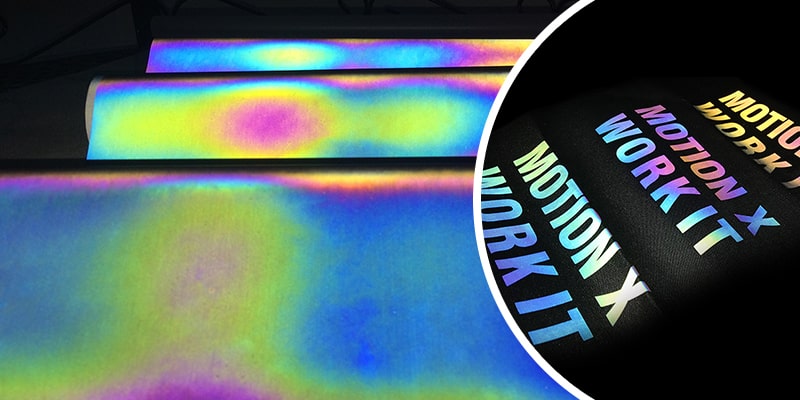
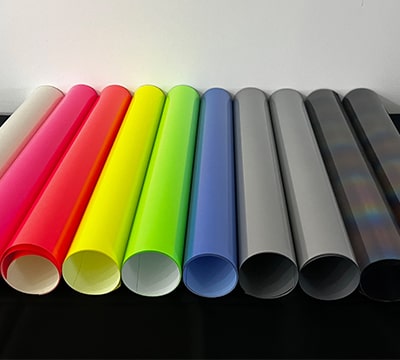
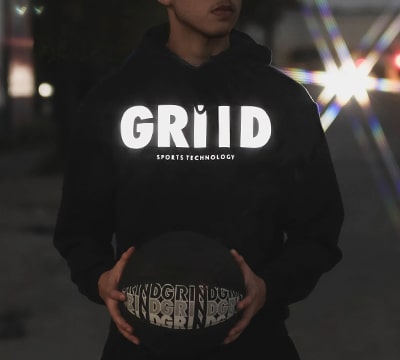
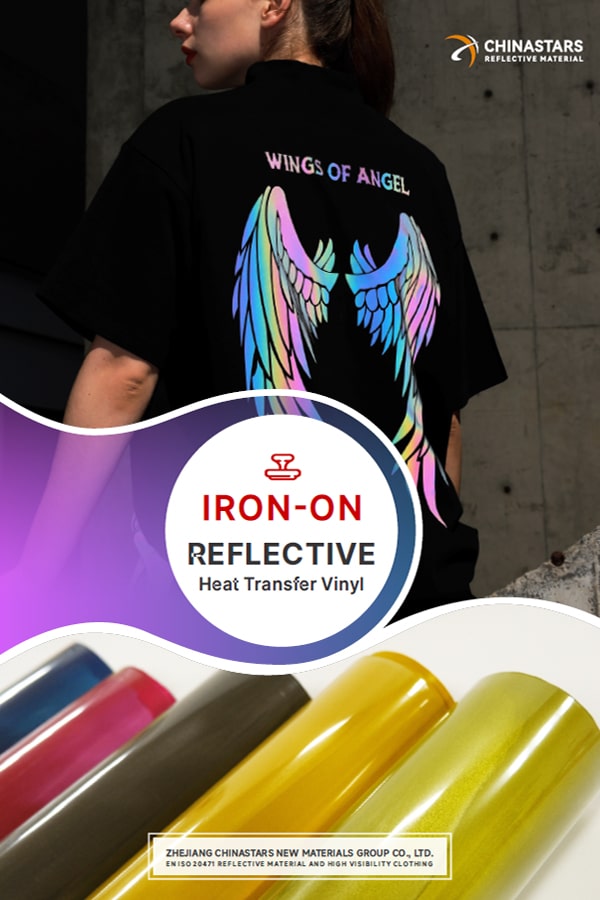
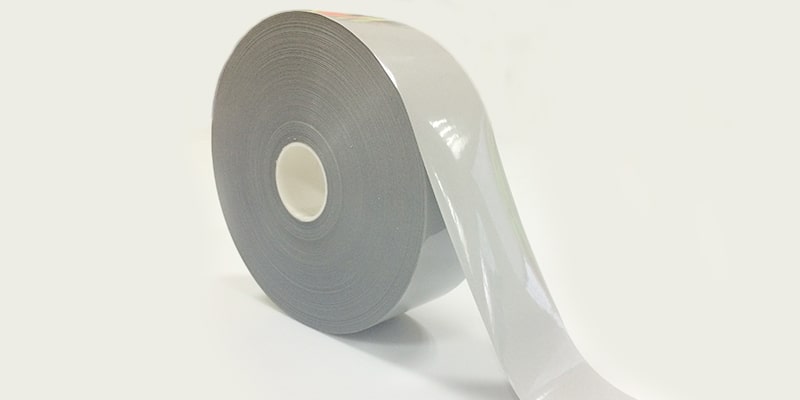
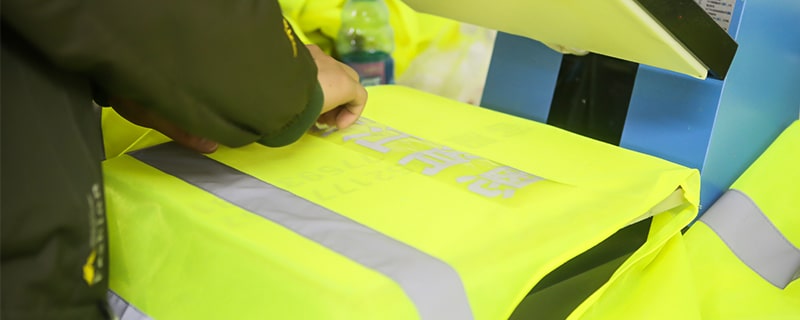
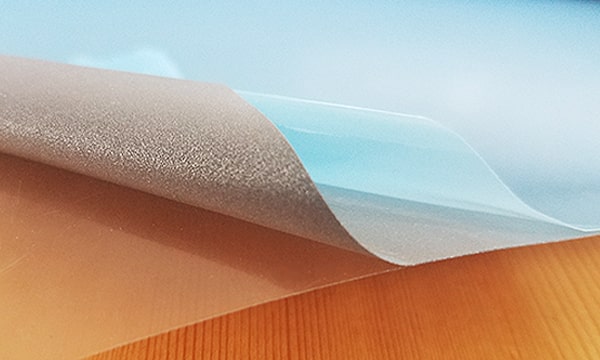
Reflective heat transfer vinyl or reflective HTV for short is composed of PET protective film liner, micro glass beads, and hot melt glue. The micro-glass beads will reflect light and become highly visible at night. It can be cut into certain patterns, weeded and heat pressed on various fabrics.
The raw materials are ecologically inert, do not contain PVC or heavy metals, in accordance with Oeko-Tex Standard 100.
02. What is iron on reflective tape?
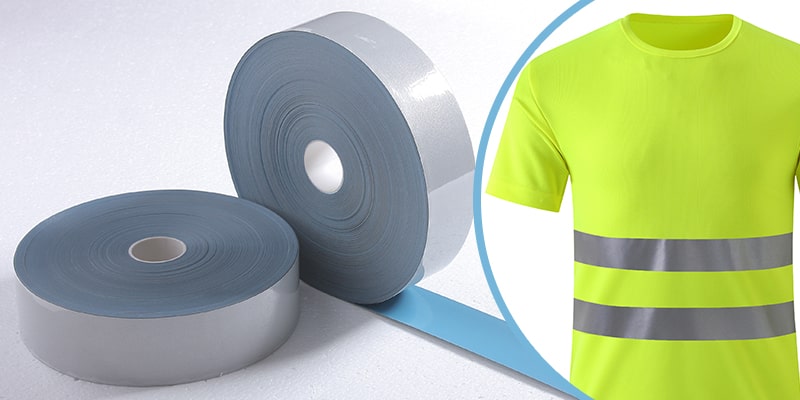
Iron on / heat press / heat transfer reflective tape is composed of micro glass beads bonded to heat-activated PES/TPU adhesives. It can be cut into strips of different widths and heat-pressed onto various base fabrics.
03. 4 Most majorly used iron equipments
Reflective heat transfer vinyl is normally applied to substrates by hot pressing or ironing. The commonly used ironing equipment are as follows:-
![Heat Press Machine]()
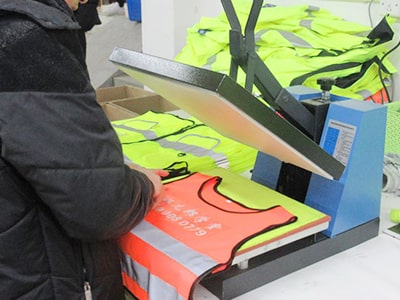
1. Heat Press Machine
Cylinder or manual type, suitable for iron reflective logo or stripes, easy to use, adjust to proper pressure and pay attention to pressure consistency. For large patch ironing, you’ll need to custom large press machines.
-
![Heated Roll Laminator]()
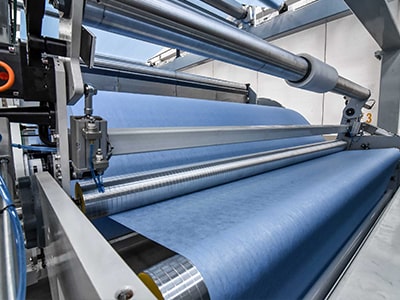
2. Heated Roll Laminator
Suitable for applying on continuous substrates such as webbing, oxford, or tricot fabric tape, and is highly efficient.
-
![Fusing Machine]()
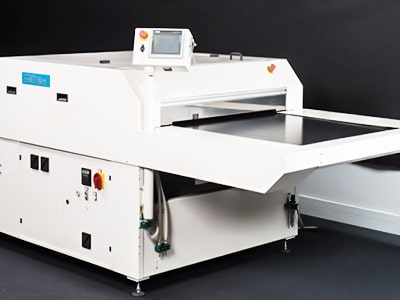
3. Fusing Machine
Suitable for continuous ironing of large cut-parts or webbing or other fabric tapes, more efficiency compared with the heat press machine, but will need more professional operation to avoid possible problems such as wrinkles or partially insecure and easy to fall off.
-
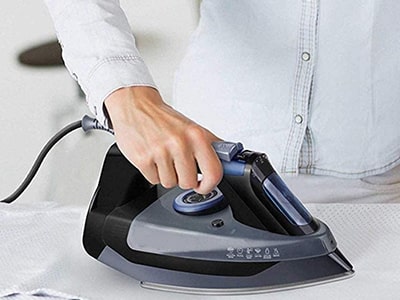
![Electric Iron]()
4. Electric Iron
Suitable for ironing small volumes or sample testing etc.
04. Ironing guidelines for different reflective HTV
To guarantee the press fastness of reflective heat transfer vinyl, we’ll need to fully melt the hot melt adhesives, press and penetrate it into fabrics, and combine them as one. The three key elements to the ironing fastness are as below:-
1. Temperature
The ironing temperature applied on the hot melt adhesives must be higher than its melting point, so as to soften and melt it into fabrics and be sticky.
-
2. Dwell time
The necessary dwell time must be guaranteed to make sure all hot melt adhesives can achieve the above temperature. Please note that it’s not pressing time, but dwell time. The time of the heat plate moving up and down can’t be counted in.
-
3. Pressure
Only if enough pressure is applied on reflective heat transfer vinyl, the hot melt glue can be pressed and penetrated into substrates, and at the same time squeeze out the air between, and guarantee the press fastness.
For different heat transfer vinyl and iron equipment, the needed temperature, dwell time and pressure vary a lot. Click the link to learn more about the recommended iron conditions of each vinyl and machine for your reference. /How_to_apply_CNSS_heat_transfer_film.html
Always remember to test each time prior to mass production to get the best heat condition, even for the same substrates and machine.
05. Iron instructions: How to apply reflective heat transfer tape?
-
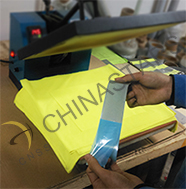
![HOW TO APPLY CNSS REFLECTUVE HEAT TRANSFER FILM]()
Step 1. Remove adhesive side liner, exposing the dry adhesive. Do not remove the reflective side liner.
-
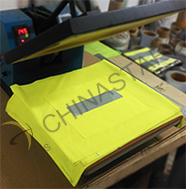
![HOW TO APPLY CNSS REFLECTUVE HEAT TRANSFER FILM]()
Step 2. Place the heat transfer film on the fabric with adhesive side down and apply heat and pressure as described below.
-
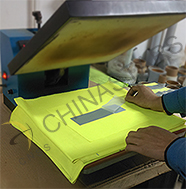
![HOW TO APPLY CNSS REFLECTUVE HEAT TRANSFER FILM]()
Step 3. Allow heat transfer film to cool to room temperature. Remove the reflective liner by lifting one corner and pulling (180° angle) in a continuous, smooth manner.
06. Handling precautions of reflective heat transfer tape
-
1. Conditions Test
The lamination temperature, time, speed, and pressure listed above shall be used as a guide. For each fabric, the proper conditions must be tested beforehand to assure adequate adhesion and physical performance.
-
2. Flat Surface
Work on a flat surface where heat and pressure can be applied. Do not heat over seams and stitches.
-
3. Cover A Cold Cotton Fabric
It is suggested to cover a cold cotton fabric (around the weight of 150-200g/m²) on the surface when heated with a heat press machine, to avoid fabric blistering due to high instantaneous temperature.
-
4. Temperature Control
Do not exceed the lamination temperatures listed above because the clear polyethylene liner may become difficult to remove and affect the physical performance. If high temperatures are required for bond durability, follow lamination steps 1-3 using recommended temperature, remove the paper liner, and then laminate again at the higher temperature (using a non-stick slip sheet or cotton fabric to protect the reflective surface).
-
![reflective heat transfer tape iron handling precautions]()
-
5. Temperature Measuring Points
Please be noted that different equipment will have different temperature measuring points. The operation temperature refers to the temperature on the surface of hot melt glue.
-
6. Dwell Time
The dwell time refers to the heating time on the surface of hot melt glue, which shall not include the time for the plate to go up and down.
-
7. Preshrinking Treatment
Some fabrics are heat-sensitive and easy to shrink and shall do the preshrinking treatment before ironing. Otherwise, the reflective heat transfer vinyl will wrinkle because of the shrinkage of the fabric.
-
8. After-Iron Notice
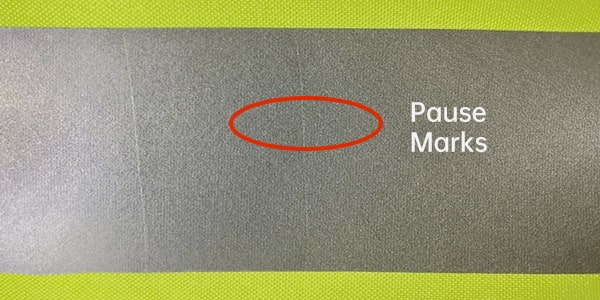
Please wait till the ironed product cool to below 70℃ to peel off the protective film (Layer D as shown in photo 1, 2, 3), try to pull in a continuous smooth manner without pauses to avoid pause marks.
-
9. Handling Environment
Please handle the reflective heat transfer vinyl in an environment of temperature below 35℃ and humidity lower than 70%. And try to avoid direct contact with sweat, acid/alkaline, water, or solvent.
-
10. Care Instructions
Use neutral detergent in hand wash. Do not pre-soaking. Hot water wash is allowed around 40 use detergent that contains bleach, acid, or alkali.
07. How to evaluate the laminating fastness?
The above-mentioned three elements are inseparable. We’ll need to find the balance point of the three elements on different iron equipment. Normally as we know, the higher the temperature, the longer the dwell time, the larger the pressure, the better the laminating fastness. But at the same time, it will definitely bring a series of problems such as the deformation of substrates and the low efficiency. So how to properly evaluate the laminating fastness is vitally important to guide the iron operation.-
![reflective heat transfer vinyl]()
1. Select the proper vinyl
Before ironing, select the right reflective heat transfer vinyl and make sure it can penetrate and attach firmly onto the targeted substrates.
-
![measure thickness of hot melt glue and fabric]()
2. Instant evaluation based on thickness
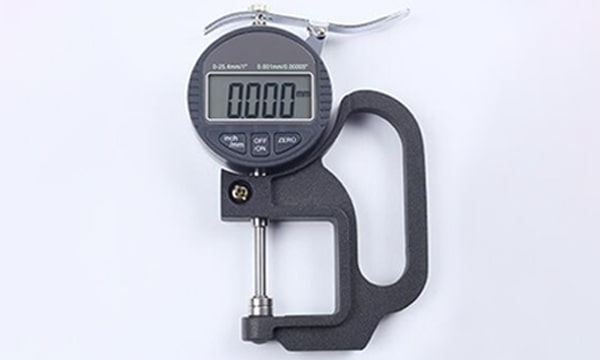
Use a micrometer thickness gauge to measure the thickness of hot melt glue and fabric separately before ironing. And measure the total thickness after ironing. if after ironing, at least 40μm (or 0.04mm) of the hot melt glue is penetrated into the fabric, then the laminating fastness is definitely good.
-
![reflective heat transfer vinyl wash test]()
3. Final evaluation by washing test
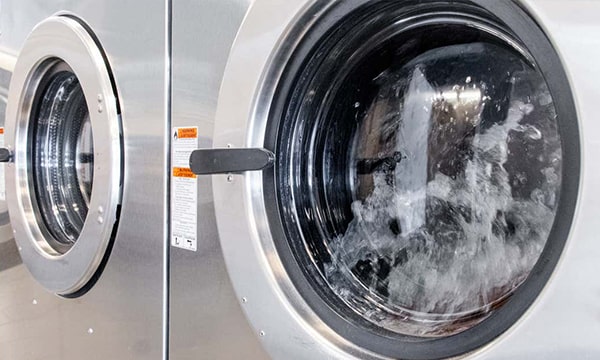
The washing test according to EN ISO 6330 standard can evaluate the iron fastness. After certain wash cycles, the vinyl shall not separate and fall off the fabric, and for certified products, the after-wash reflectivity shall be higher than 100 cd(lx.m²).
08. Frequently asked questions about reflective HTV
-
1. How to choose appropriate heat transfer film for our fabric? Are free samples available?
Yes. Our company can provide free samples for testing. If possible, we'd highly suggest customers send the target fabric to our factory. We'll arrange a technical person to test on it and do a washing test. After that, we'll recommend the appropriate heat transfer film and send samples to you.
After you heat apply them in your factory, in case you can't do washing test in your factory, you can also send the test samples to our factory for washing test to guarantee the washing fastness.
-
2. For the same fabric, can we follow the same heating condition as last time?
No. You can't. Even for the same fabric, the heat condition will be different due to the change of climate, transportation, storage environment, or different batches of the base fabric (esp. for waterproof fabric, the waterproof treatment varies between lots). Please make sure to test before each mass production to make sure we get the best heat conditions.
-
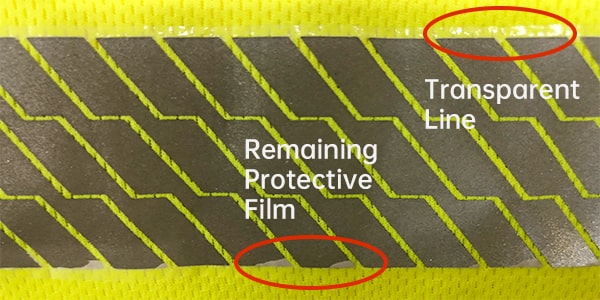
3. Why does there appear to have a transparent film line along the edge of heat transfer film? And the protective film seems hard to peel off; part of them even stick on the reflective side.
![reflective heat transfer tape iron solution]()
Reasons: Lamination temperature is so high as to melt the protective film, which turns into a transparent film line on both sides. The melting protective film becomes hard to peel off or part of them even can't be peeled off.
Suggestion:
1. Lower down the laminat1on temperature. If high temperatures are required for bond durability, follow lamination steps 1-3 using recommended temperature and pressure for 2-3 seconds to fix the heat transfer film on the fabric, remove the paper liner, and then laminate again at the higher temperature for suggested duration time (using a cotton fabric to protect the reflective surface).
2. Choose reflective heat transfer vinyl with a sticky liner instead to avoid this issue.
-
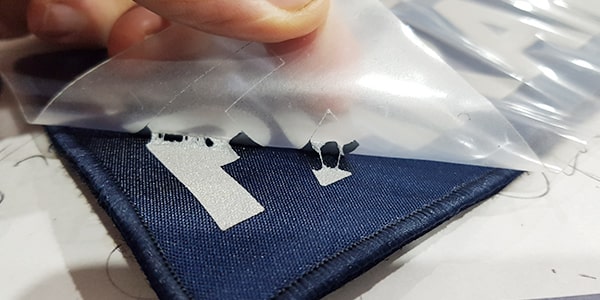
4. Why part of my reflective logo can't be transferred to the fabric and stuck on the protective film?
![reflective heat transfer tape iron solution]()
Reason: Not enough line pressure.
Suggestion: Increase the pressure. Different types of machines will be quite different in pressure. It is suggested to adjust according to the actual test results. In the below photo, because of the embroidery edge on the fabric, it will take larger pressure to fully heat transfer the reflective logo. And because the customer uses the continuous automatic press machine, it usually needs larger pressure than suggested. The problem solves after he readjusts the pressure.
-
5. Why did the heat transfer film fall off after only a few washes?
Reason: Temperature too low or duration time not long enough.
Suggestion: Use higher temperature or press with longer time (Note: the press time means the actual time to press on the fabric, which doesn't include the time for the platen to move up and down).
-
6. Why do the fabric and heat transfer film wrinkle after the heat operations?
![reflective heat transfer tape iron solution]()
Reason: Multiple reasons can cause the wrinkles, such as temperature too high, or different thermal shrinkage between fabric and heat transfer film.
Suggestion: First, try to lower down the temperature, see if it solves the wrinkle problem. In case the wrinkle persists under a very low temperature (lower than the suggested lowest temperature), then we consider the possibility of different thermal shrinkage. Heat on the fabric first to allow it to shrink before we apply our heat transfer film.
-
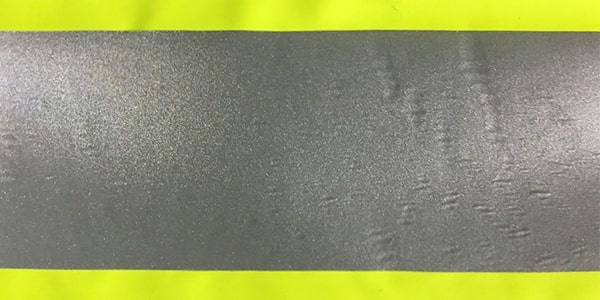
7. Why there are blisters on part of the heat transfer film after the heat operations?
![reflective heat transfer tape iron solution]()
Reason: Temperature is too high, or uneven heating.
Suggestion: First, try to lower down the temperature, see if it solves the problem. In case the blisters persist under very low temperature (lower than the suggested lowest temperature). then cover a cold cotton fabric on the surface to ensure even heating.
-
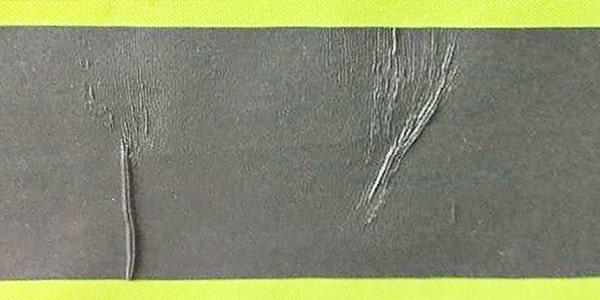
8. Why do scratches appear on the surface of heat transfer film right after I peeled off the protective film?
![reflective heat transfer tape iron solution]()
Reason: Very likely, you pause in the middle when peeling off the protective film.
Suggestion: Try to remove the reflective liner by lifting one corner and pulling (180° angle) in a continuous, smooth manner, to avoid possible pause marks and affect the appearance on the reflective side.
-
9. How to overlap iron the reflective heat transfer vinyl?
We don’t recommend overlap ironing. If needs to overlap, we’d suggest using the water repellent heat transfer vinyl, increasing the pressure and extending the dwell time.
-
10. Why is Ironed webbing partially with poor fastness?
Reason: For webbing ironing, if the thickness of webbing is uneven, the pressure on the thinner part is less, so the thinner part will have poor laminating fastness.
Solution: Use larger pressure as suggested to solve the problem.
